
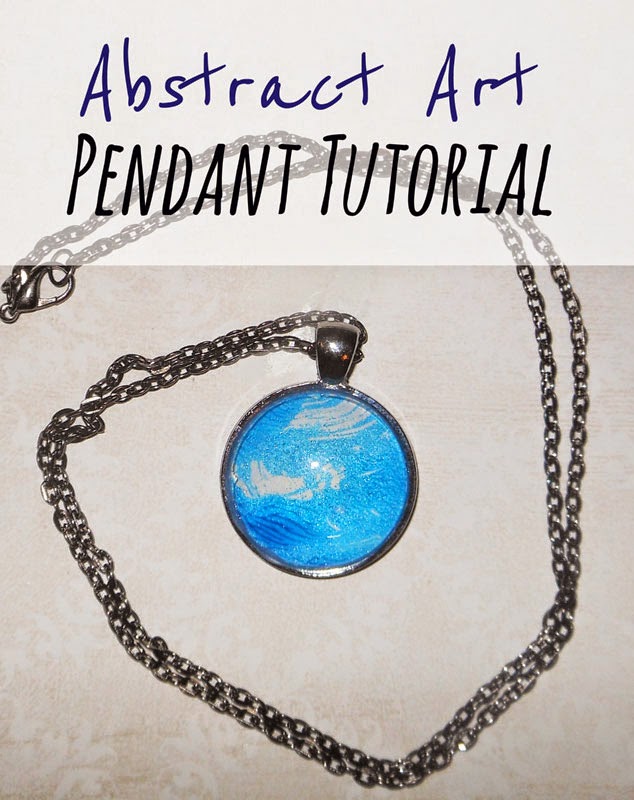
Last night, I decided to make an icy blue pendant to capture the cold Minnesota weather. As I made this, I was wrapped in a blanket cocoon, because I am quite certain my craft room barely reaches 60 degrees in the winter (technically it's still fall, but nature doesn't seem to care about that right now). Stupid old houses and their draftiness.
Materials Needed:
- 1 inch pendant tray (I used the gunmetal colored tray)
- 1 inch domed glass
- dimensional glaze
- necklace of your choice (The website I linked has a good variety.)
- scissors
- art or photo of your choice. If you would like to use handmade art, try this tutorial. I used the method in the tutorial to make my designs for this project. I used blue paint and white shimmer paint to give the art a sparkle.
To start, squeeze a little dimensional glaze onto the glass piece. Then place the glass onto your art. Gently push down and make sure there are no bubbles under the glass. You can use any clear glue you want in place of the dimensional glaze, if you are feeling cheap. I used Tacky glue when I first experimented with this project, and it works decently. The main difference is that dimensional glaze is less likely to create air bubbles under the glass. So if you are picky, use a dimensional glaze.

Let the glaze dry for a while. I think I waited an hour. Then trim off the excess paper. Next you will need to seal the back of the paper with more glaze. Use the tip of the bottle to spread a small amount of glaze onto the paper.

Let this dry for another hour or so. Next, you will put more glaze on the back of the paper. Turn the glass over, and place it into your pendant tray. Allow to dry, again. There's a lot of dry time with this project. Maybe find other things to do in the spare time. Like make a matching pair of earrings!

I used a 24 inch gunmetal chain for this pendant.

And would you look at that! A matching set of paper earrings. Stay tuned for that tutorial. (Update: Here it is! Abstract Art Paper Earrings Tutorial)

If you have any questions or comments, please leave them below. I would love to hear from you and see what projects you are up to! If you enjoyed working with the glass pieces, you can take a look at some of my other tutorials like the ones listed below.
Abstract Art Pendant Earrings Tutorial (You could easily make matching earrings with this tutorial!)


